My first two projects related to Arduino are clock related. If you haven’t seen them before, its the Digital Alarm Clock and Digital Clock on 7 Segment Display. Now, I am going to share a project which uses Cheap RF Modules to control robot wireless.
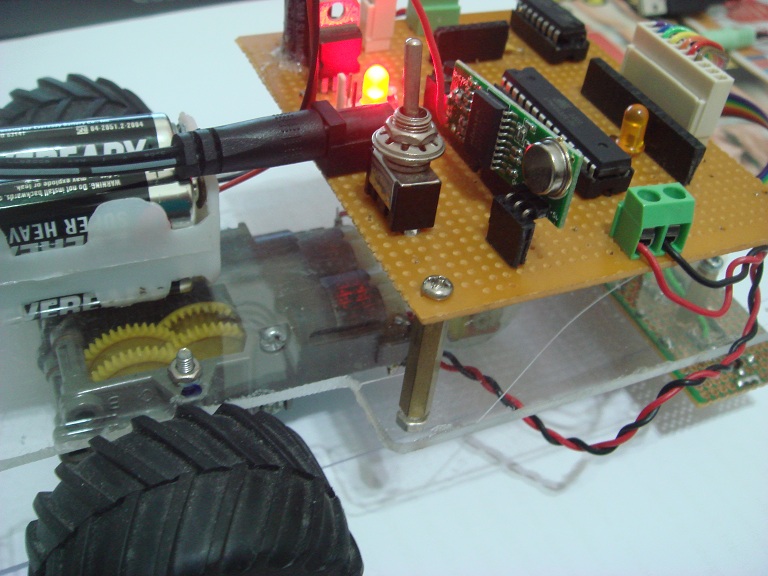
The wireless transmission uses cheap RF module on 433Mhz. This modules can be obtained at a very low cost. Since they are available at low cost, they are not that perfect as compared to more expensive RF modules.


For the wireless control part, I use a simple method which is directly send a character for each directions. The receiver will receive the character and determine the direction to move. Since this is a direct method, the wireless transmission is prone to noise interference. In order to reduce the disturbance of noise, there is a need to apply a “filter” to cancel out the noise and get the data.
I will try to figure out, how to solve the noise problem of this RF module in the future.

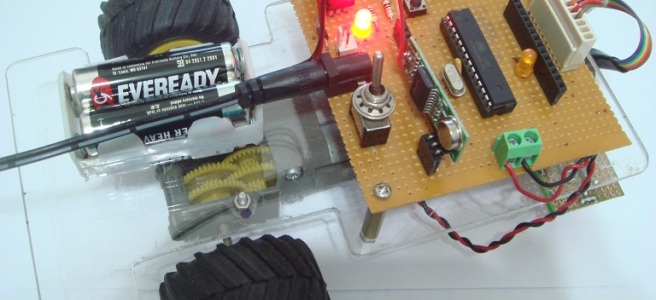
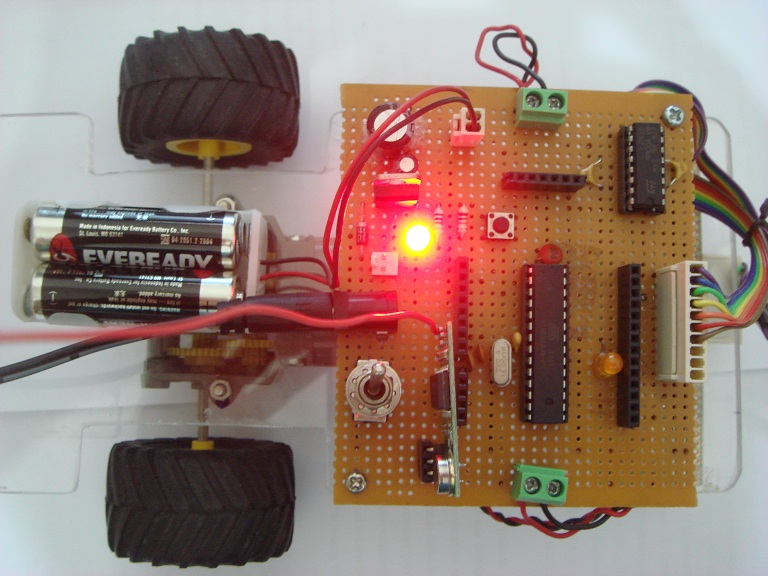
The structure of robot car I made it on my own, DIY rocks!! The base was made of unused acrylic piece, then cut into desired shape that suits the motor. The motor that I have used here is Tamiya Twin Motor Gearbox. The speed is still okay but not that fast, this can be adjusted by changing the gear ratio. Too bad that I have lost the gear so I have to stick with this speed.
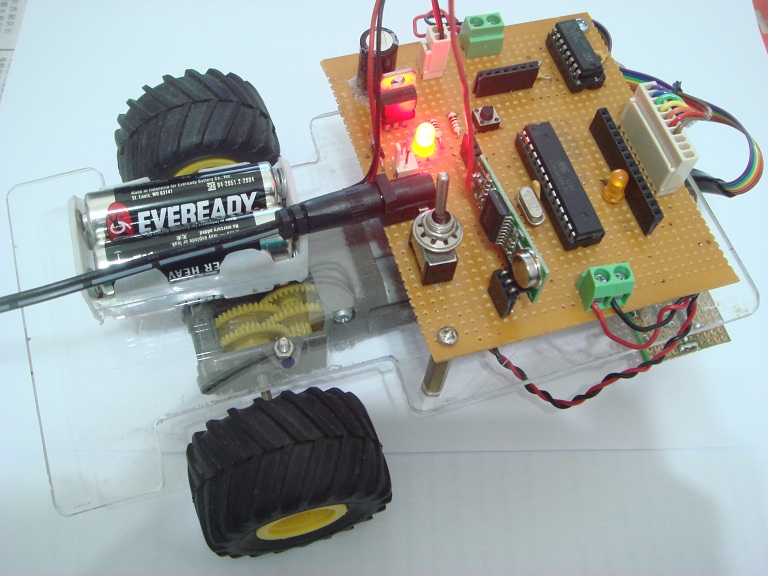
To control two motors bidirectionally, I use L293D motor driver to control. By using L293D motor driver, I can control both the directions and speed of two motors. The motors use external supply, 6V which is feed into L293D. However, to have a longer life of motor, the recommended voltages are between 1.5V to 3.0V.
– Another Arduino clone on stripboard
I use the wall plug, voltage 12V to supply the Arduino for robot car and 4 AA battery for two motors.
A video to demonstrate how this RF Controlled Robot Car works.
Enjoy 😀
If you have any questions regarding this project, feel free to comment below.

Next, Bluetooth controlled robot!
Might consider it but I don’t have bluetooth module to control.
Get one ! 😀
神
Please post the circuit diagram of tramitter and receiver
Nice work! We built a similar project. However, we installed an Android device onto a RC car and used an IOIO board instead to control it autonomously. Here is the preliminary result:
Hi Al B,
Your project looks great, good luck working on it.
Your work is awesome …if u post the schematic and codes i ur blog it will be very nice …so that we can try all those stuff…..
Do you control the robot with a joystick and pwm signal? If yes, i’d Luke to sede the code of TX and RX..i’m trying with virtualWire.h bit without success.. 😦
Hi Walter,
I control the robot from another Arduino using buttons as input. PWM is used to control the motor on the receiver side.
I don’t have the code with me now, but I think there are plenty of resources on how to use virtualWire. In my project I used this method, https://iamzxlee.wordpress.com/2013/07/11/rf-module-part-1/ to transmit the data.
Nice work and nice explanation on how to build a “remote control car”.
We guys tried build the same project by the website mentioned here http://www.engineersgarage.com/contribution/wireless-robot-control-using-rf-module. This project is a similar wireless remote controlling applicable to two-wheel drive robots. The wireless remote is a 434 RF module and the robot is driven on DC motors controlled by an L293D motor driver IC. Typically, 434 RF modules have a range of 50-60 metre but can be extended up to 300-350 metre. So, after extending the operational range of RF module, the RC robot will have an impressive distance to wander around.