I was always fascinated with LED Matrix Display because it makes a good and clear display. I always saw LED display used as advertisement signboard. It can be programmed with variety of animations. So I decided to make myself a 48×8 LED Matrix Display. Of course, I start off with a smaller one by soldering LEDs on stripboard, making a 8×8 LED Matrix. I tried to understand how the LED Matrix works and how to deal with the programming part.
If you would like to skip the process and have a look on the final result, there you go.
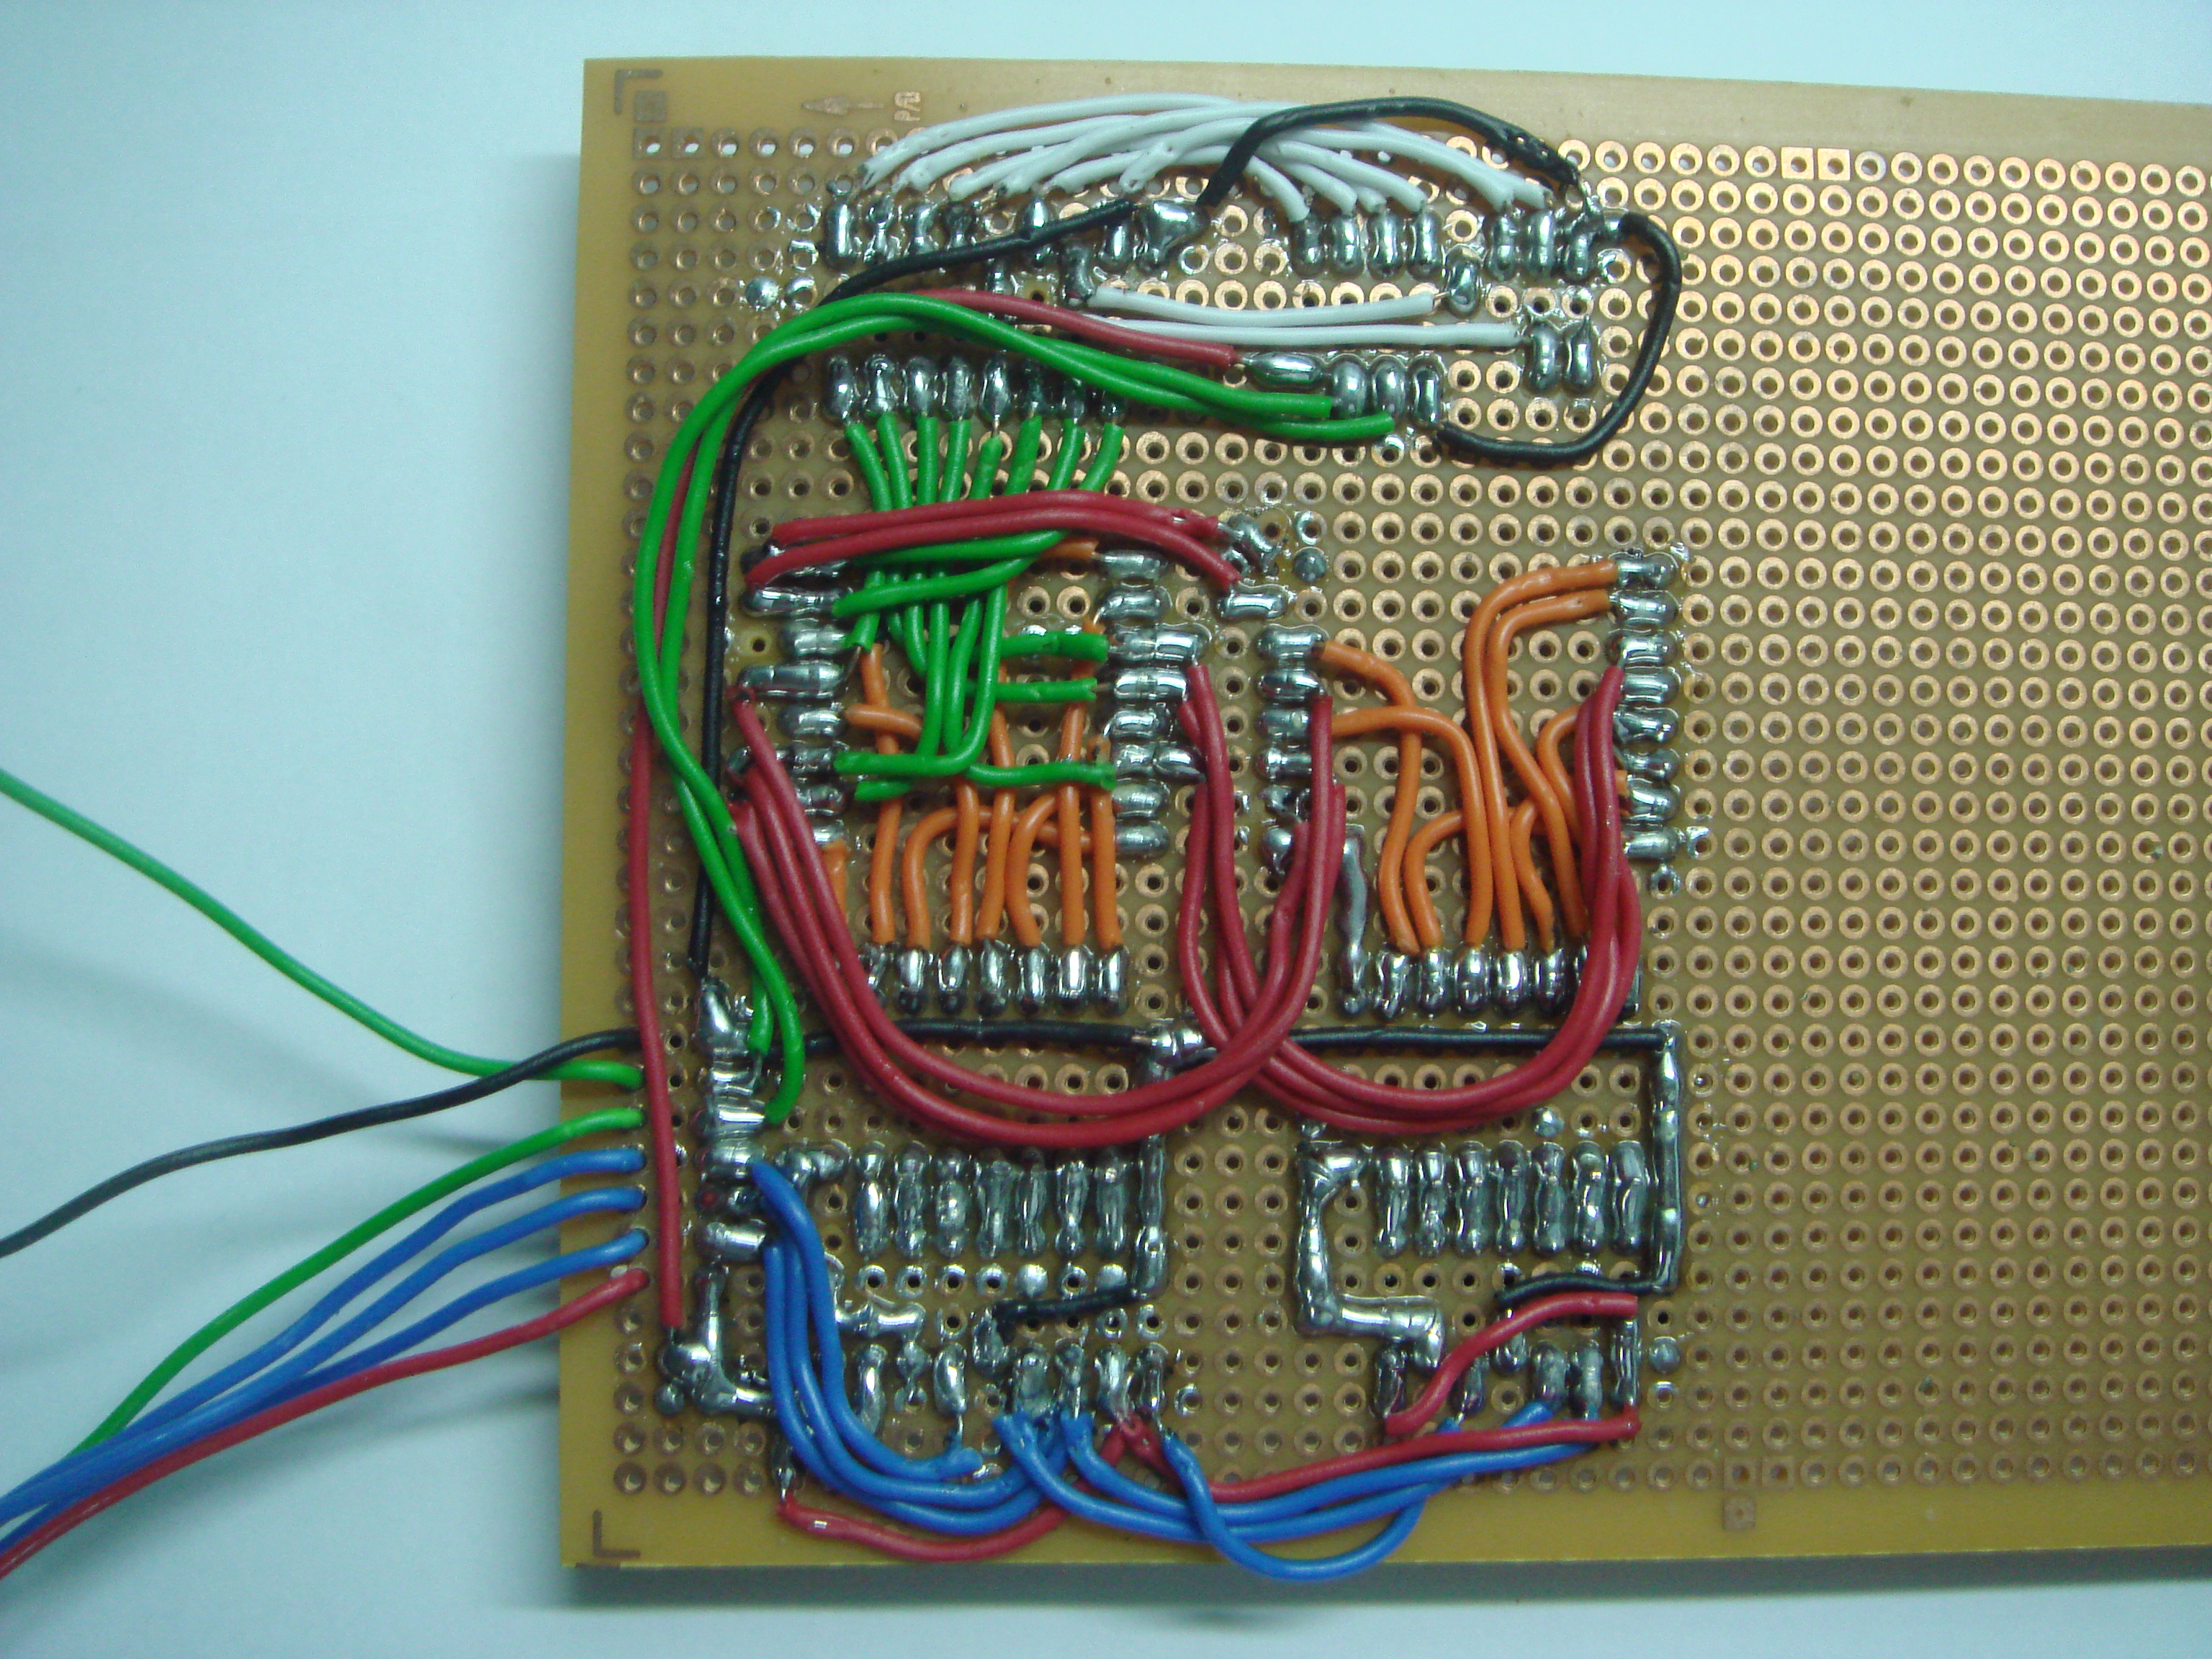
When I am comfortable with 8×8 LED Display, I decided to go for a bigger display. That is when I started to order some 8×8 Dot matrix display, ready to cascade them to a bigger display. The parts use to make 48×8 LED Matrix Display are quite simple. A 74HC595 Serial In, Parallel Out Shift Register is used for each column, while a CD4017 Decade Counter is used for row scanning.
All the 74HC595 is controlled by daisy chaining each of them. So only 3 wires is required to control all the 74HC595. For the row scanning, I control the clock of CD4017, and when it reached the 8th clock, reset it back to zero.
In this post, I will mainly show the development of my 48×8 LED Matrix Display. I always prefer to start with something small, making sure they are working, before completing it. This will ease my job in troubleshooting in both the hardware and software wise.
I start with 16×8 Display, main reason is to test out with daisy chaining both of the display.

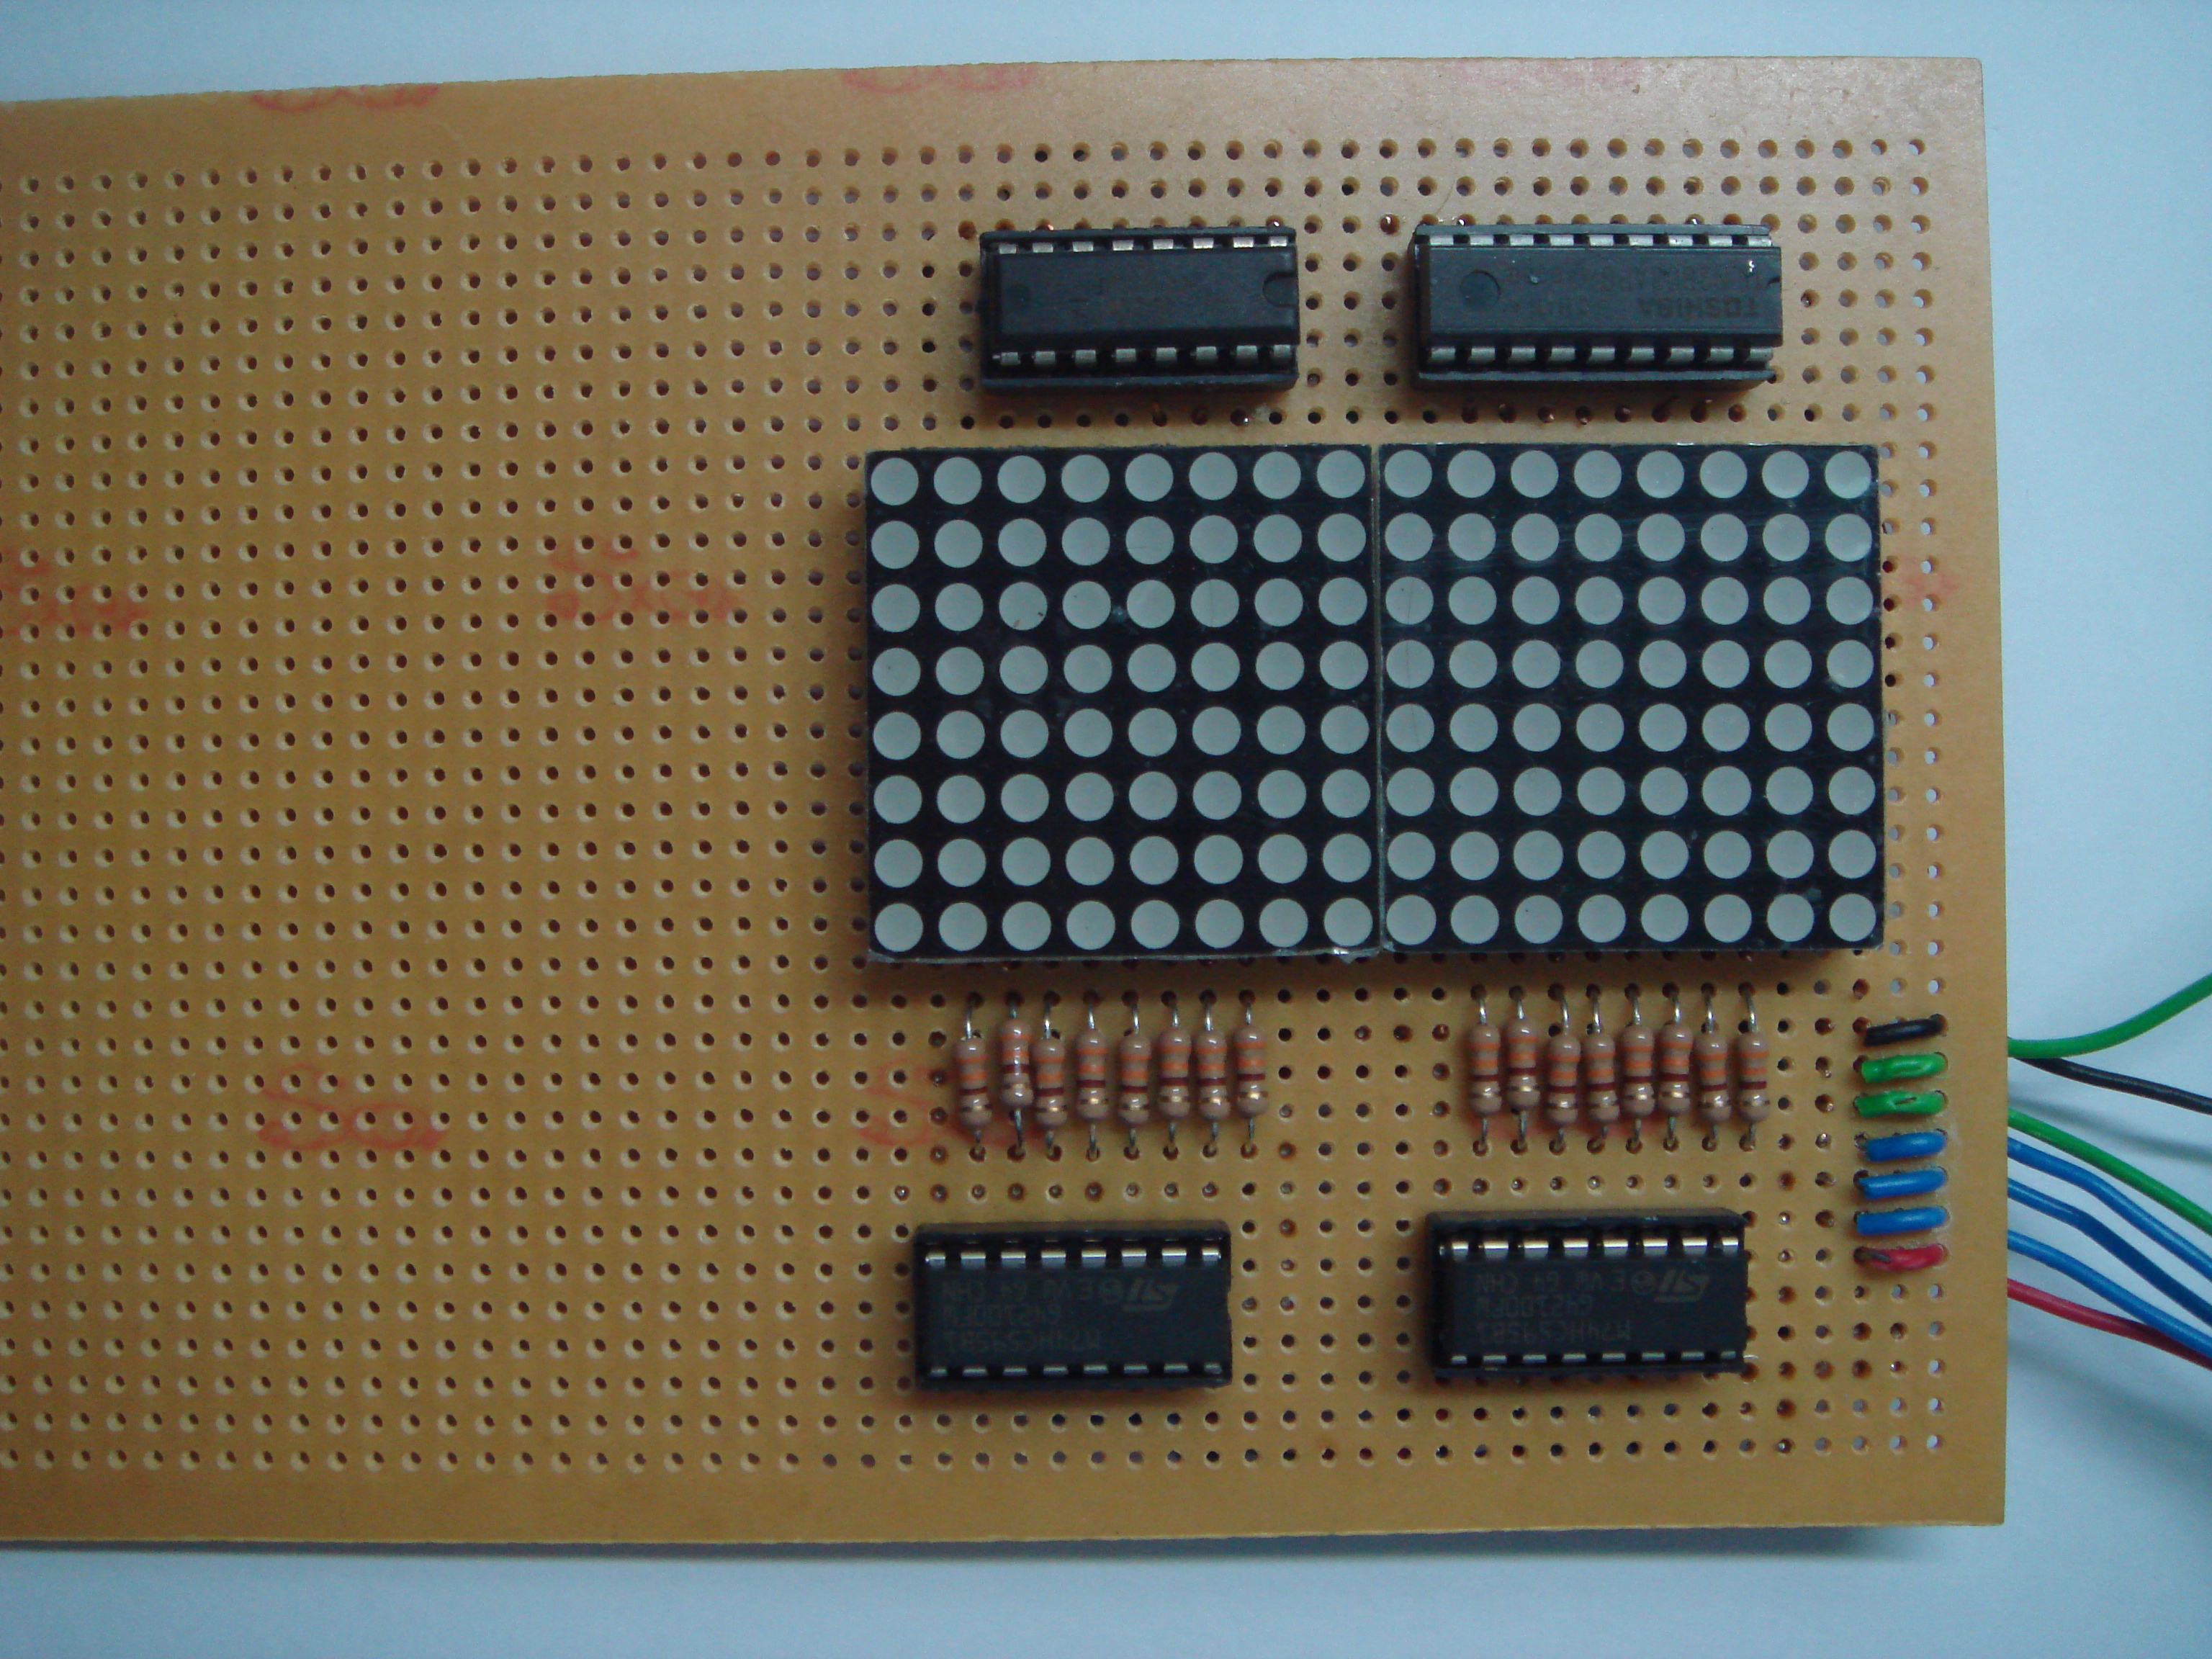
First check point towards 48×8 LED Matrix Display.


Second check point towards 48×8 LED Matrix Display.
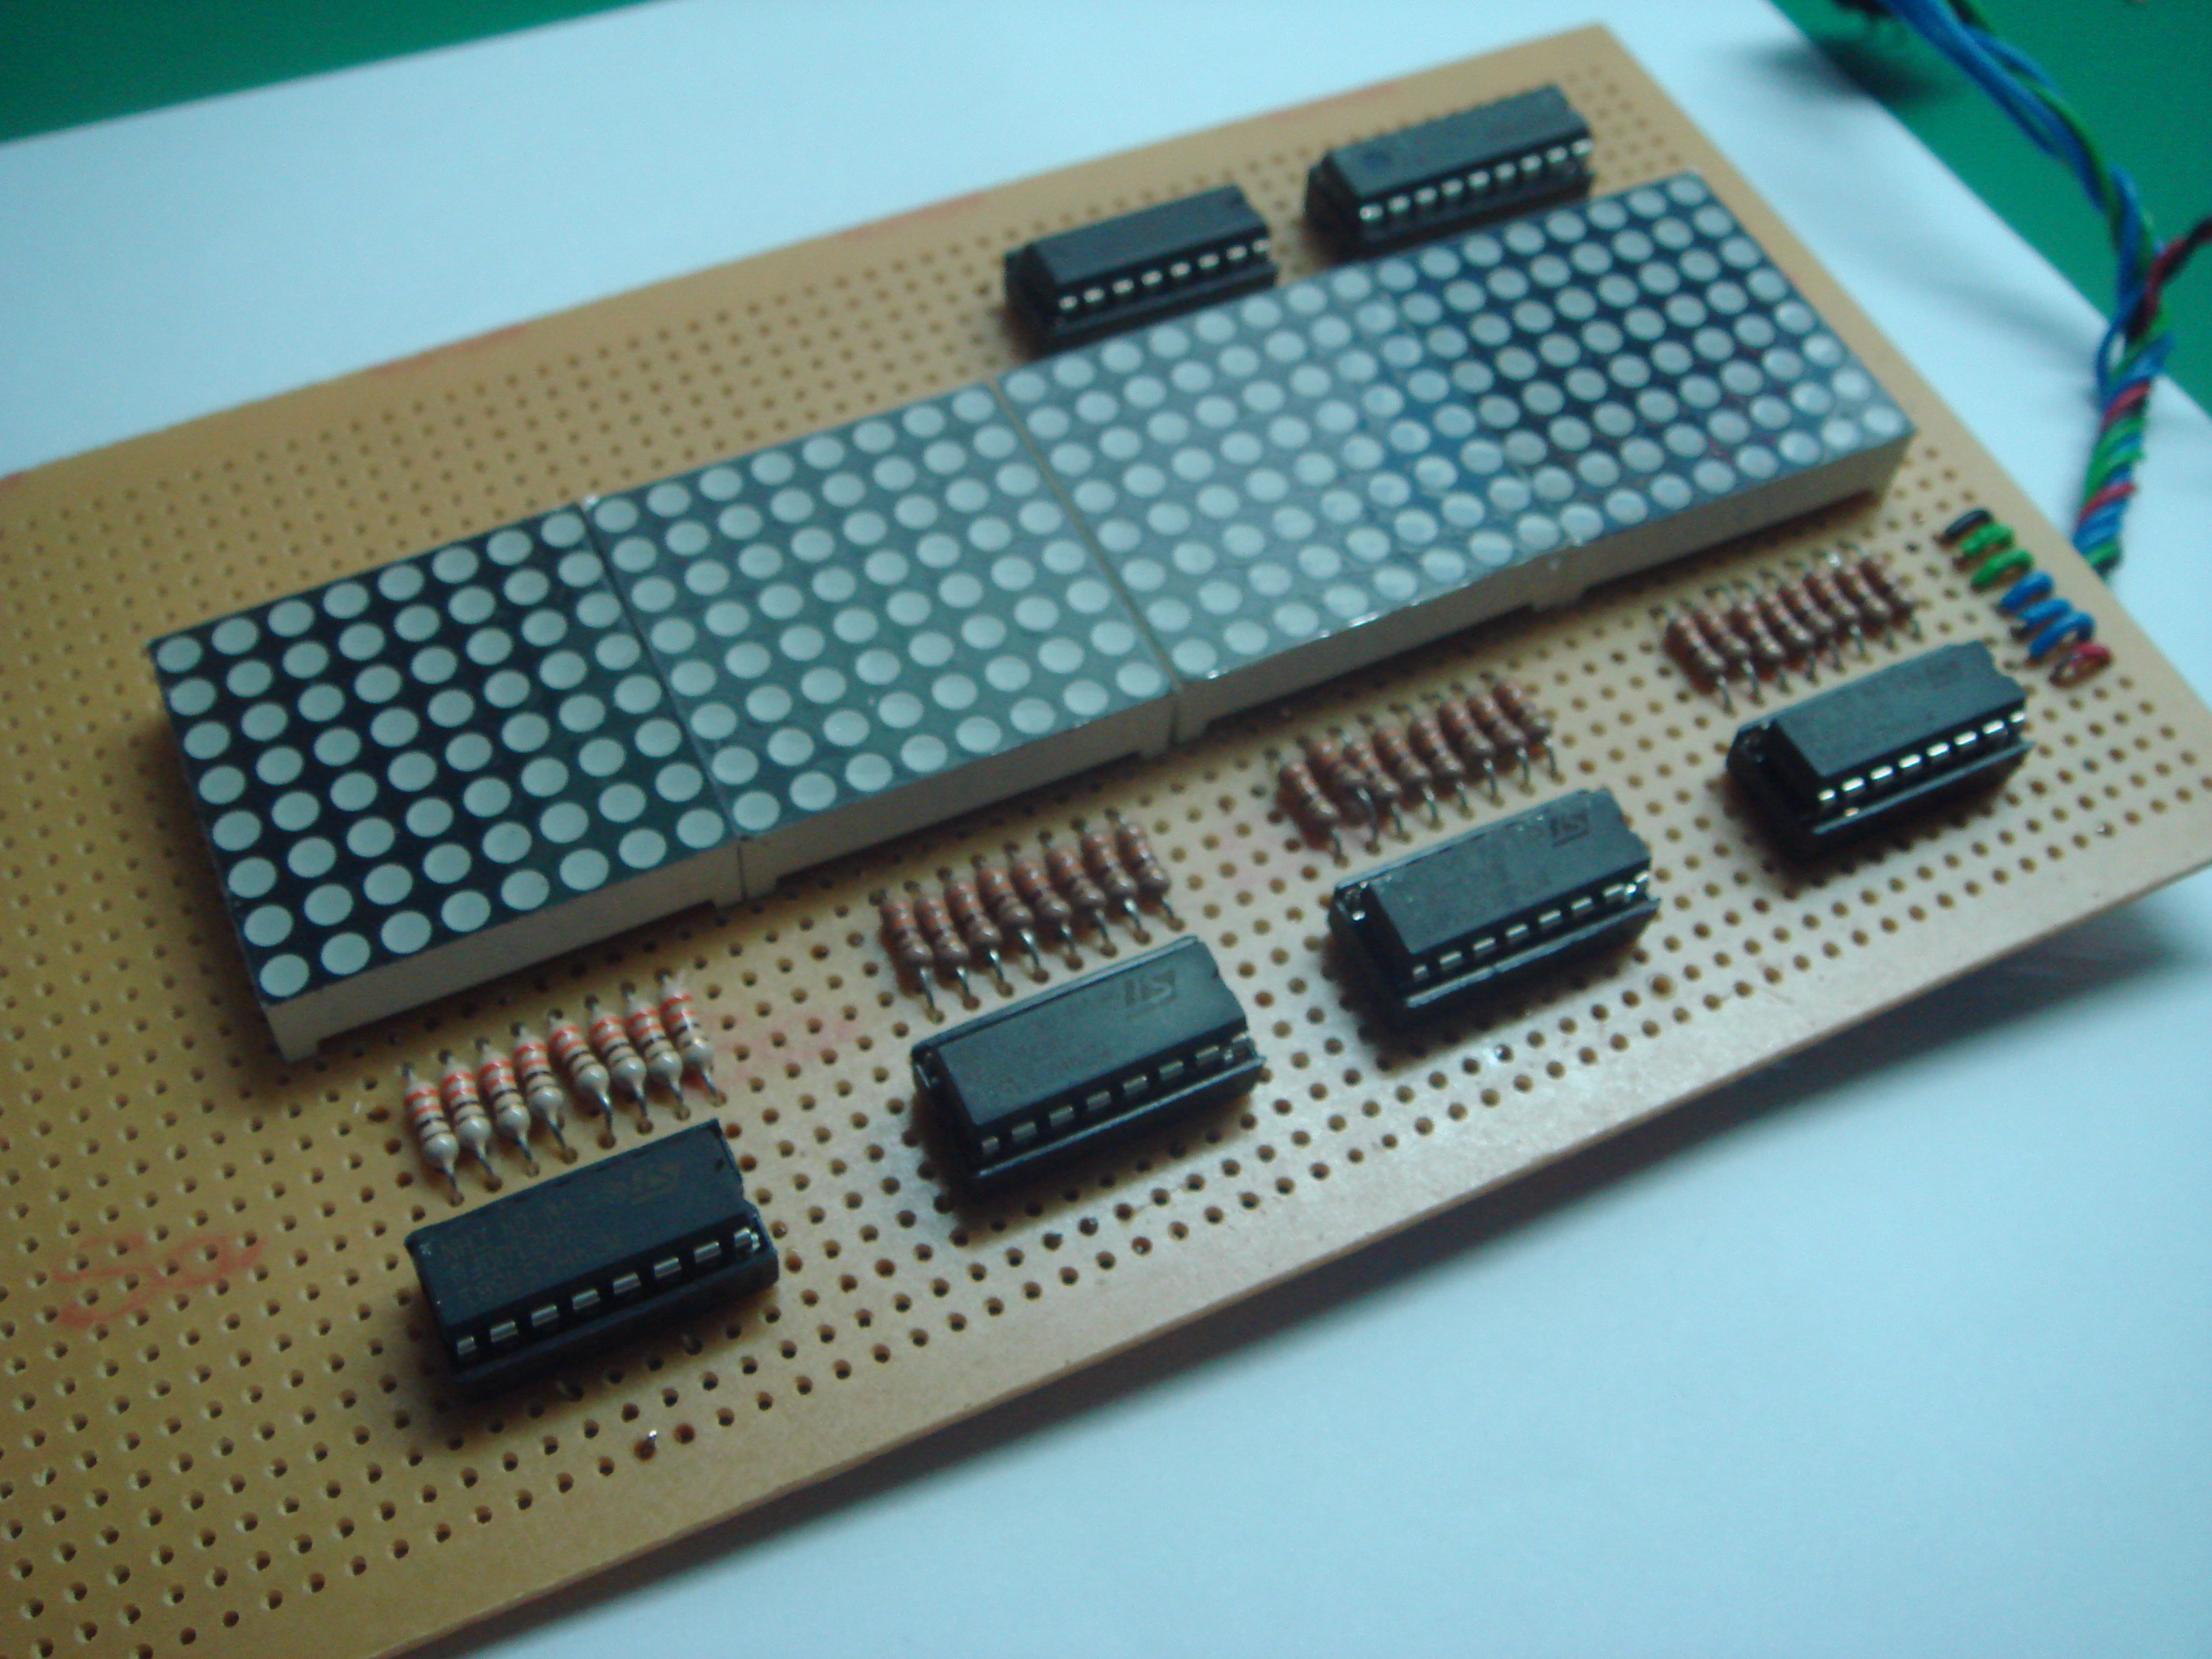


Third check point towards 48×8 LED Matrix Display.


Forth check point towards 48×8 LED Matrix Display.


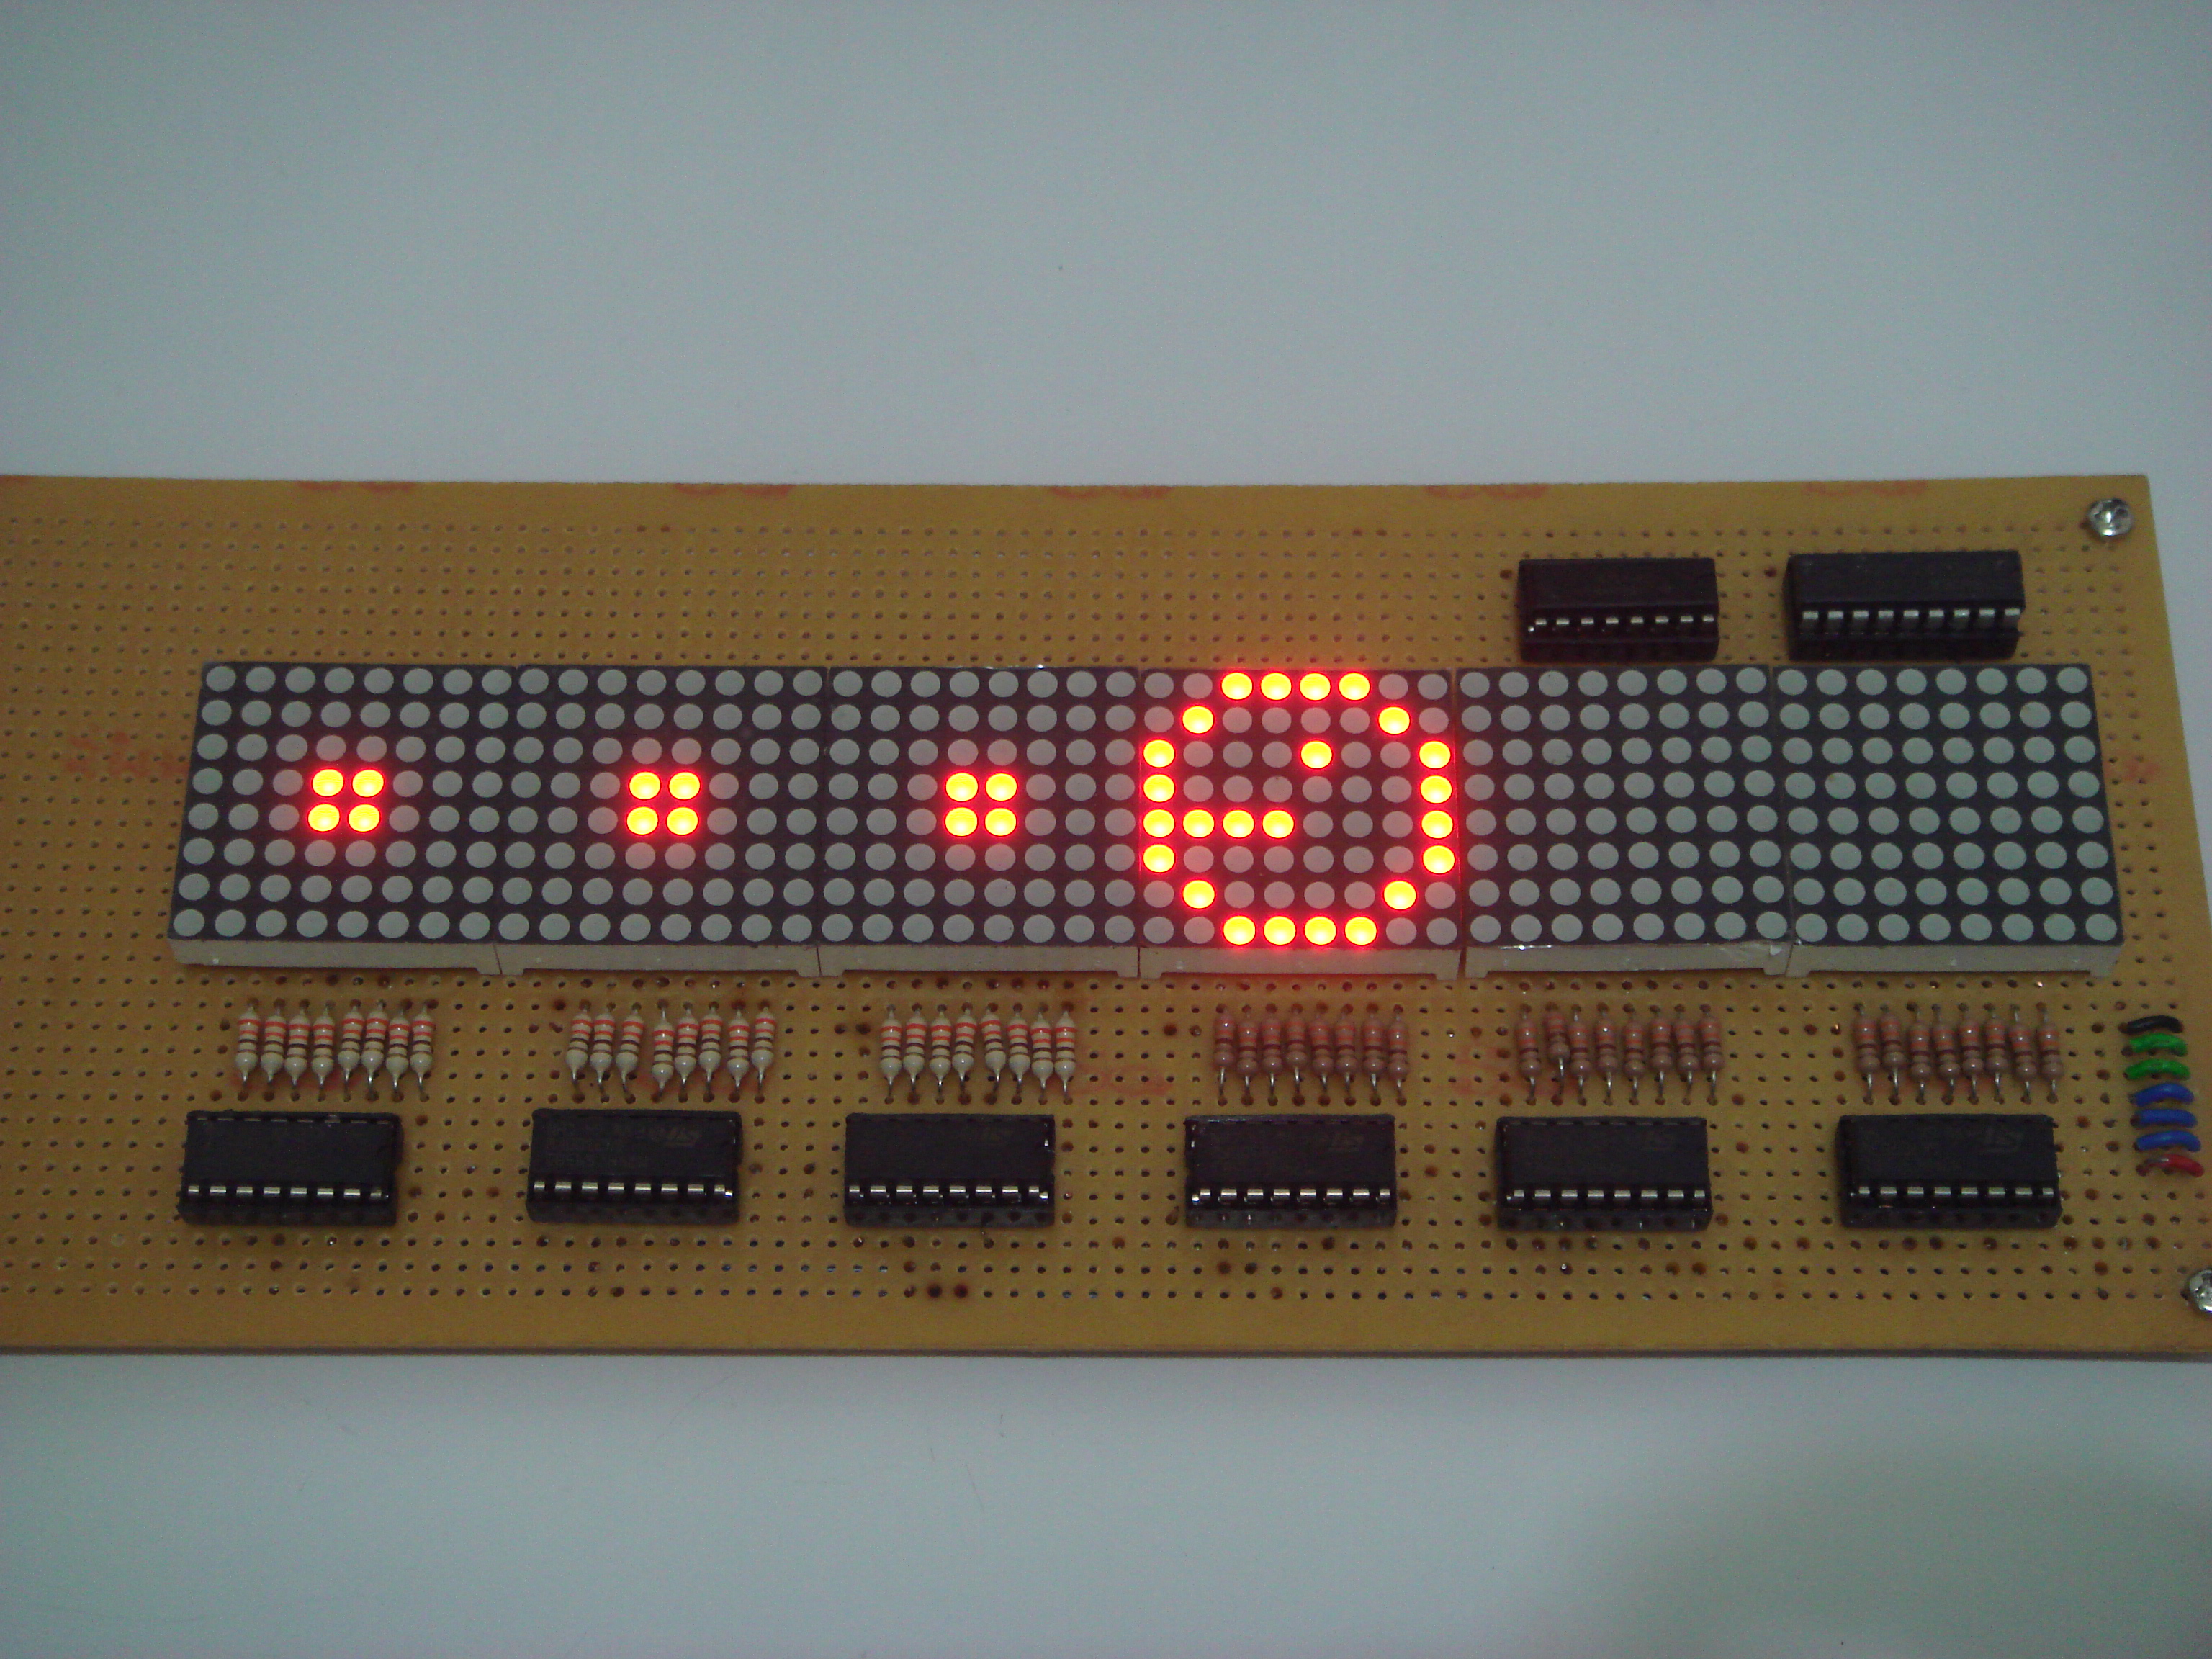
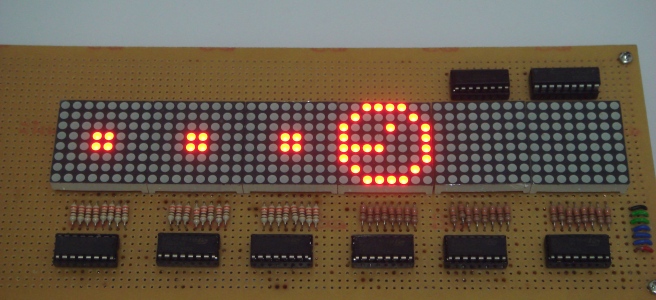
Finally, the 48×8 LED Matrix Display completed.
There are still a lot improvements can be made to this display. I planned to add more animations to the display. If possible, maybe include the microcontroller all into the same stripboard. Then, I don’t need to connect to Arduino everytime I want to program it. That is what I can think of so far.
Well, 48×8 LED Matrix Display is enough for me to test out more. I hope to add all the improvements mentioned when I am free and of course not being lazy.

No software and schematic sharing ?
Thank you.
hi, I would like to build the same. Could you share a schematic and the idea how to use this CD4014 Decade Counter? Could you attach the program?
thanks
Hello,
also asking for schematic and code please,
Hi Branko, sorry, I did not have any schematic when I did this. It is based on the working principle and solder it.